這一次要說明如何將資料儲存進Nation的資料庫(Database)
當知道了該如何將資料儲存進去後,就可以以此為基礎打造很多東西
自動化客服紀錄、自動網站發文、自動郵件寄送…等都可以達成
Make與Notion的串接
首先在Notion先進行註冊並登入
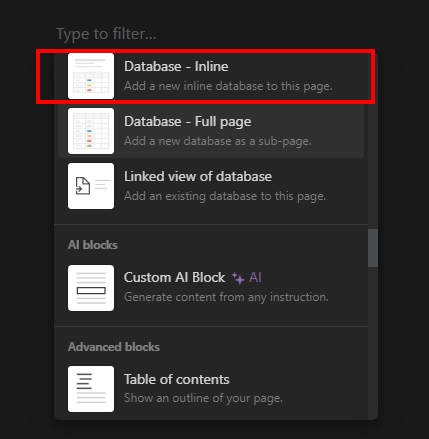
建立一個頁面,以及新增工具Database – lnline
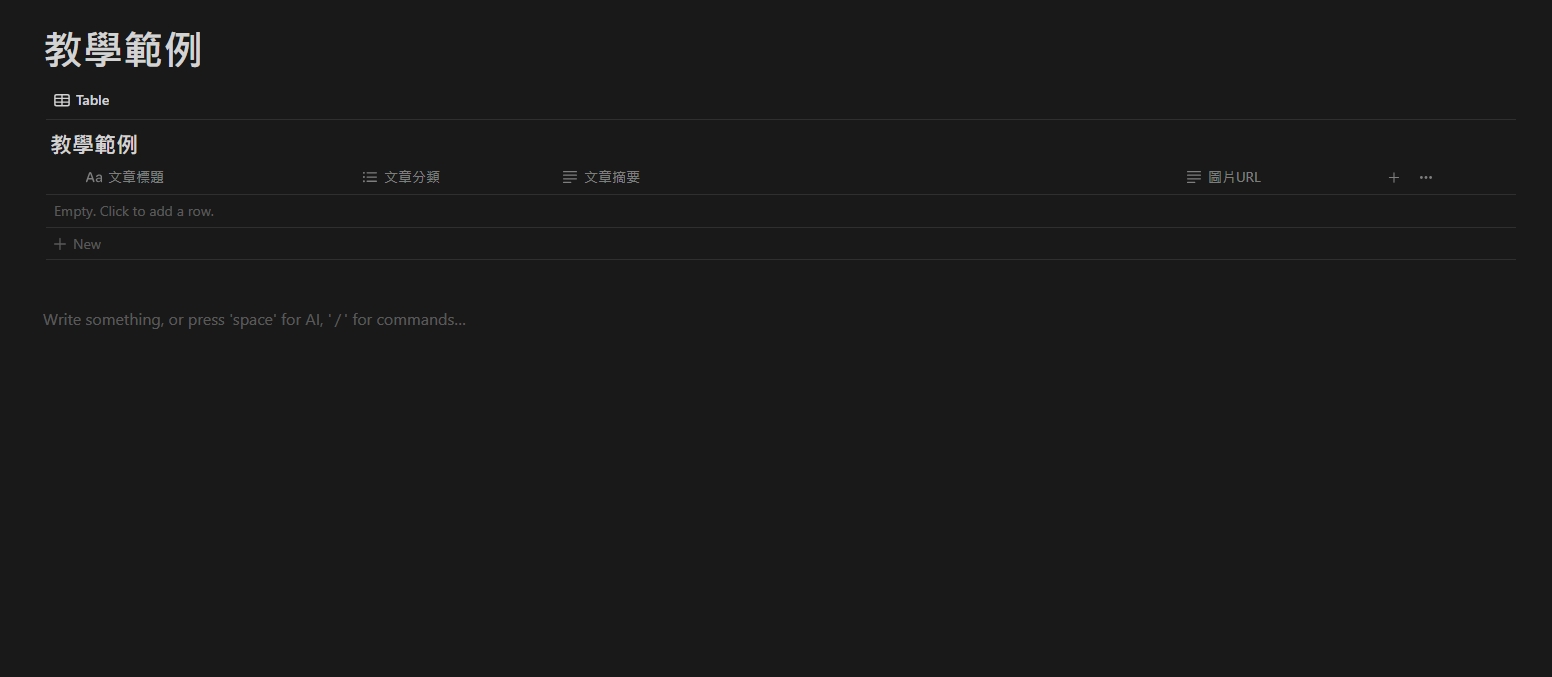
之後根據自己的需求建立資料欄位
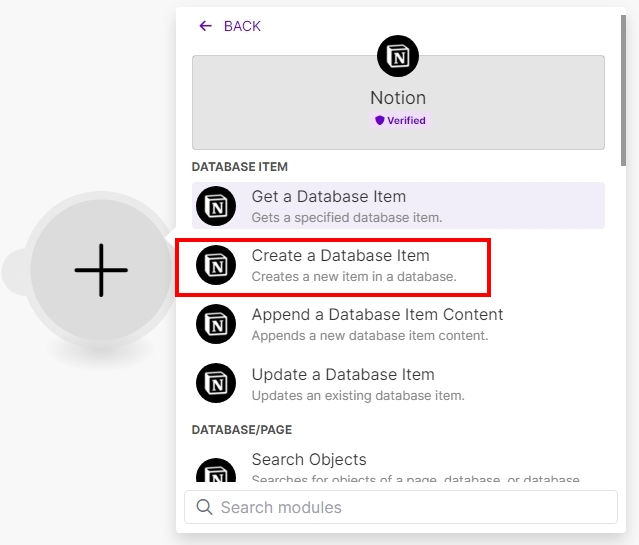
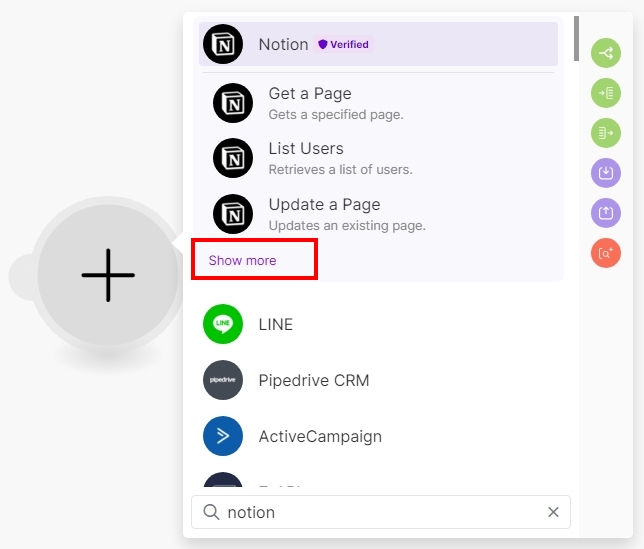
之後在Make找到Notion的工具,並選擇Create a Database Item
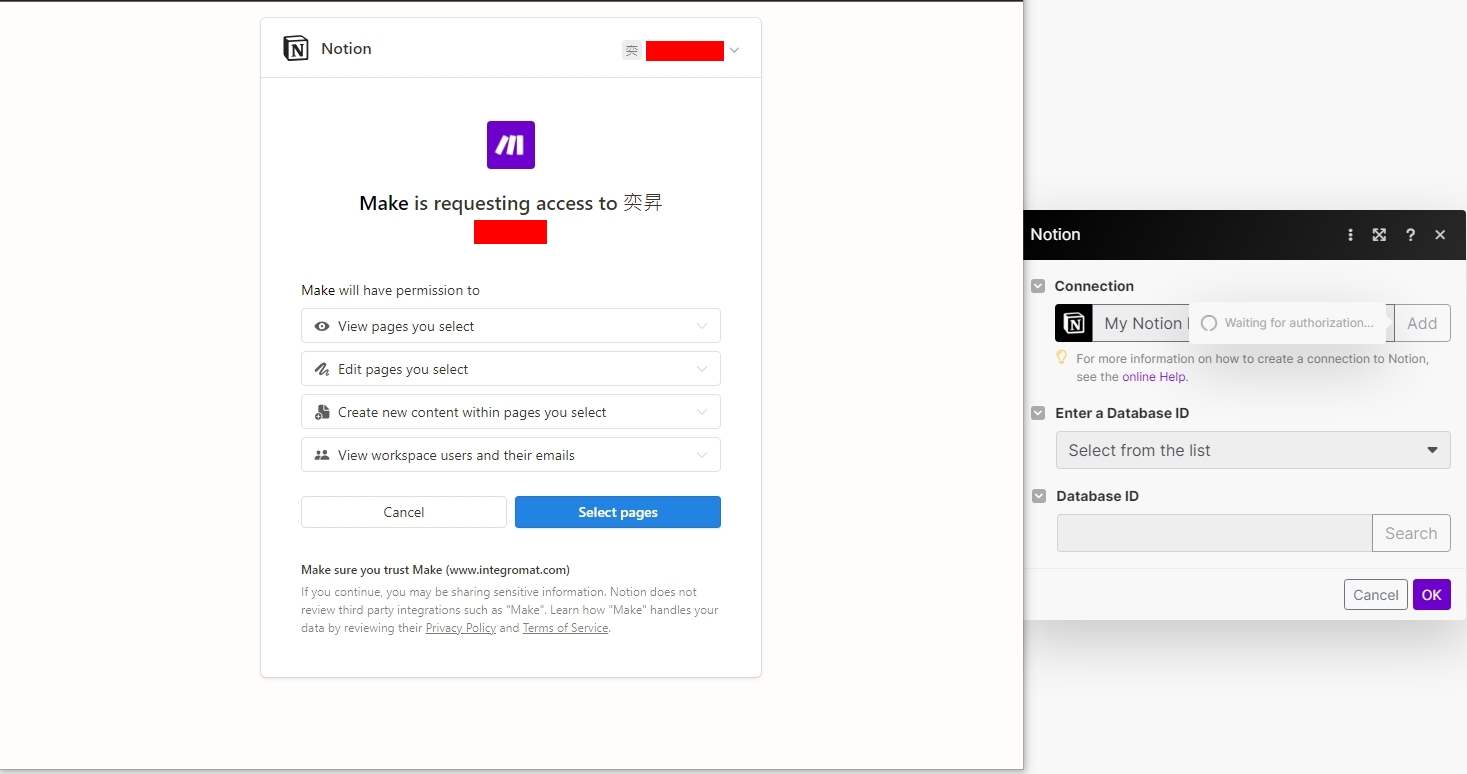
之後只要跟著步驟登入Notion帳號
並選擇要讀取的頁面,就可以串接完成
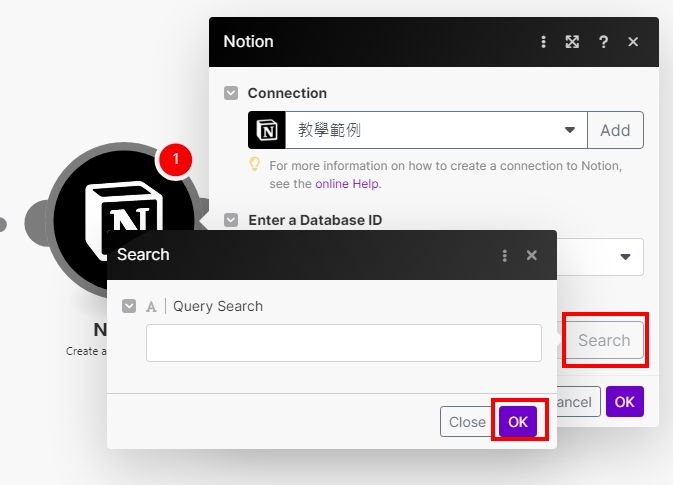
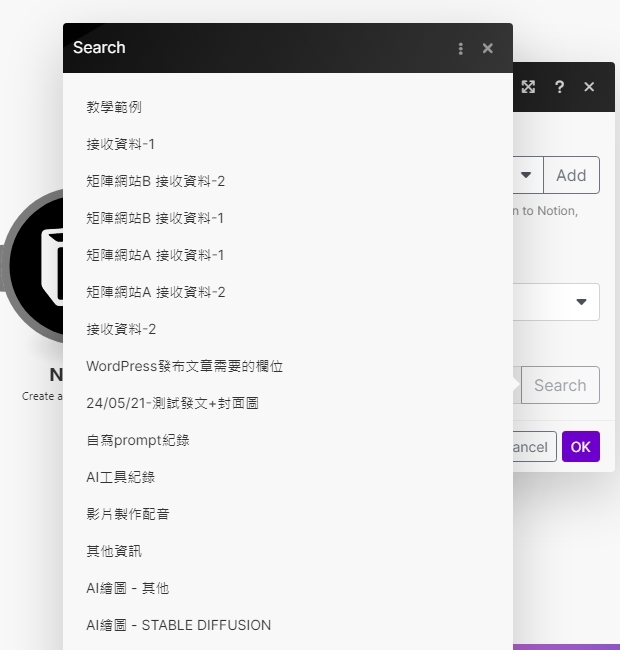
在來進行搜尋,Query Search不填寫的話
系統會將選擇頁面內的資料庫全部顯示出來
只要選擇自己要用的資料庫即可
完成串接就會將該資料庫內的欄位全部顯示出來
這時候只要填寫對應的參數,就可以將指定的資料儲存進Notion了
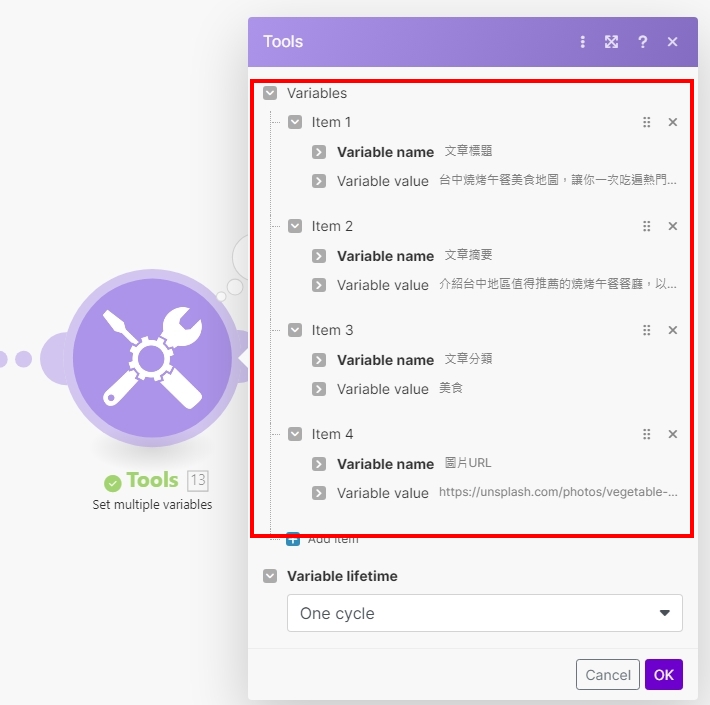
存儲範例
我使用工具建立了4個參數,分別為:文章標題、文章摘要、文章分類、圖片URL
並指定到Notion資料庫的欄位
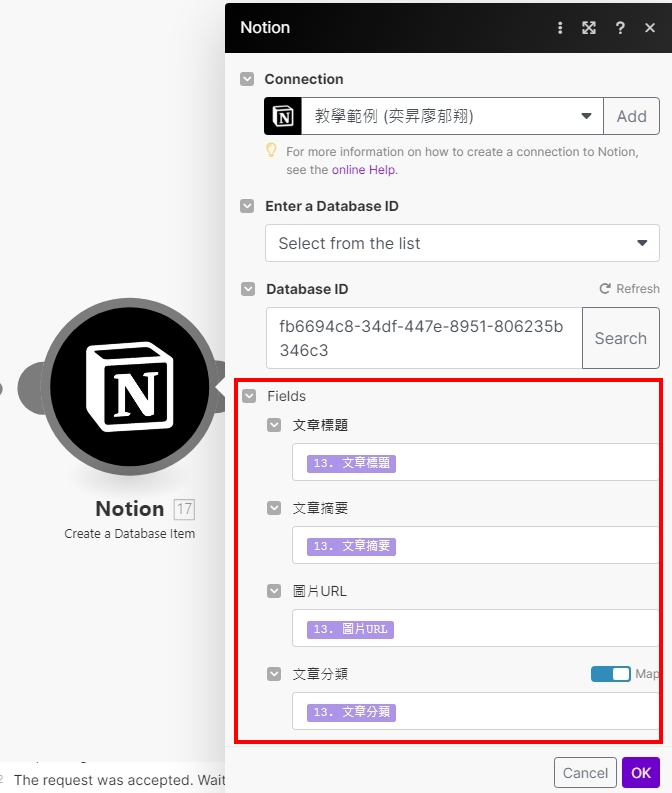
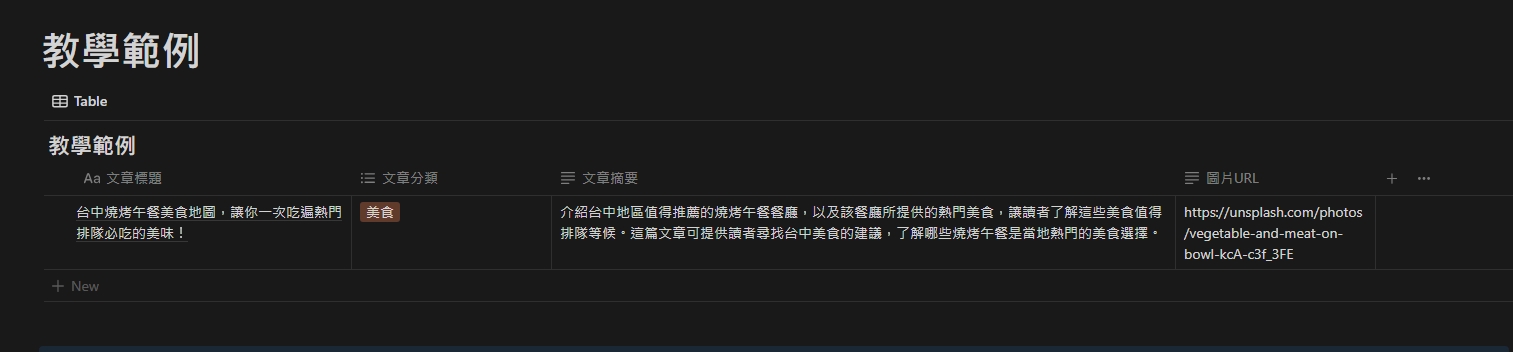
這樣就可以把指定的資料存進Notion裡面了
後續的可以使用應用來抓取資料,這樣就不用像本次範例一樣單純指定資料
可以抓取Google試算表資料、Line資料、WordPress資料等等來保存自己要留存的數據
成為AI學習平台訂閱者

NT$300 / 1個月

NT$900 / 3個月

NT$3,000 / 12個月