前面有說明了如何使用Notion的資料,在WordPress發文
這一次剛好相反,我們要當WordPress發文的時候,保存數據在Notion資料庫
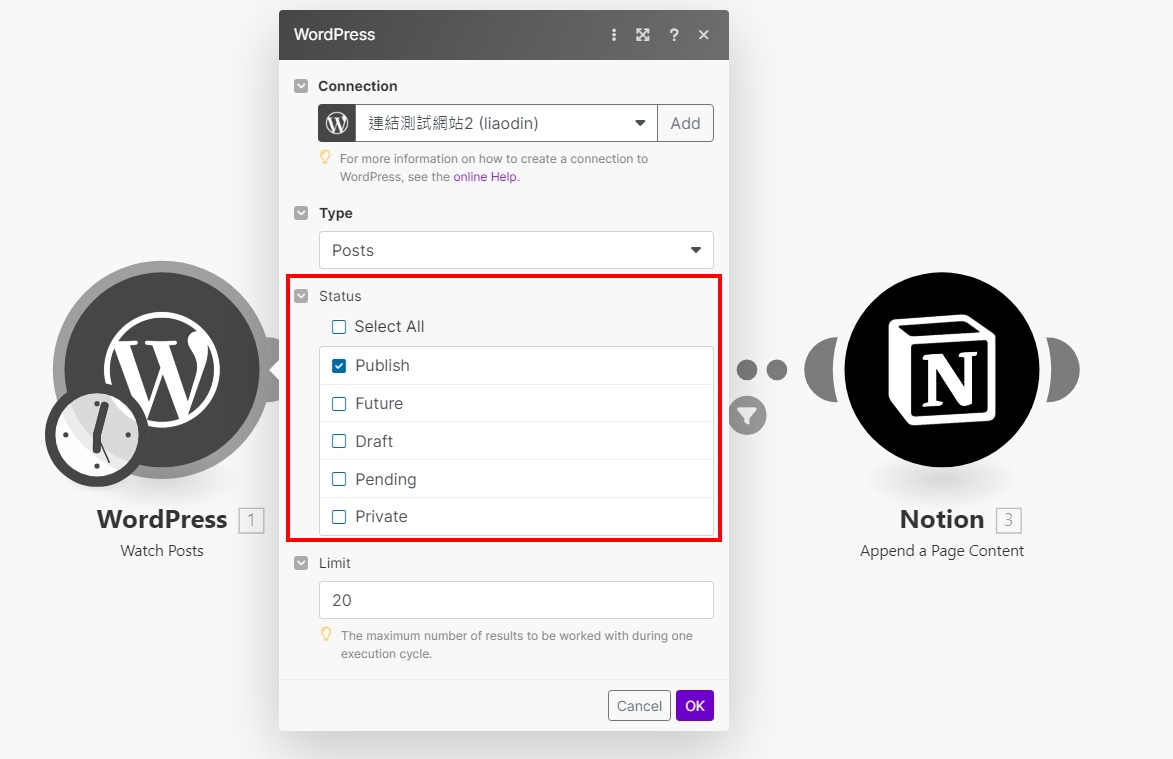
而這次觸發點選擇的是Make工具的 WordPress > Watch Posts
串接WordPress
經過前面的學習,串接WordPress應該已經很清楚要怎麼設定了吧
如果需要回憶的話,可以參考進行Make與WordPress的串接
串接完成後,我們只需要選擇當文章是什麼狀態,會將資料回傳到Notion內
將資料回傳至Notion
當確認WordPress網站發布文章時,要儲存什麼資料進去Notion資料庫
就是我們現在要進行設定的
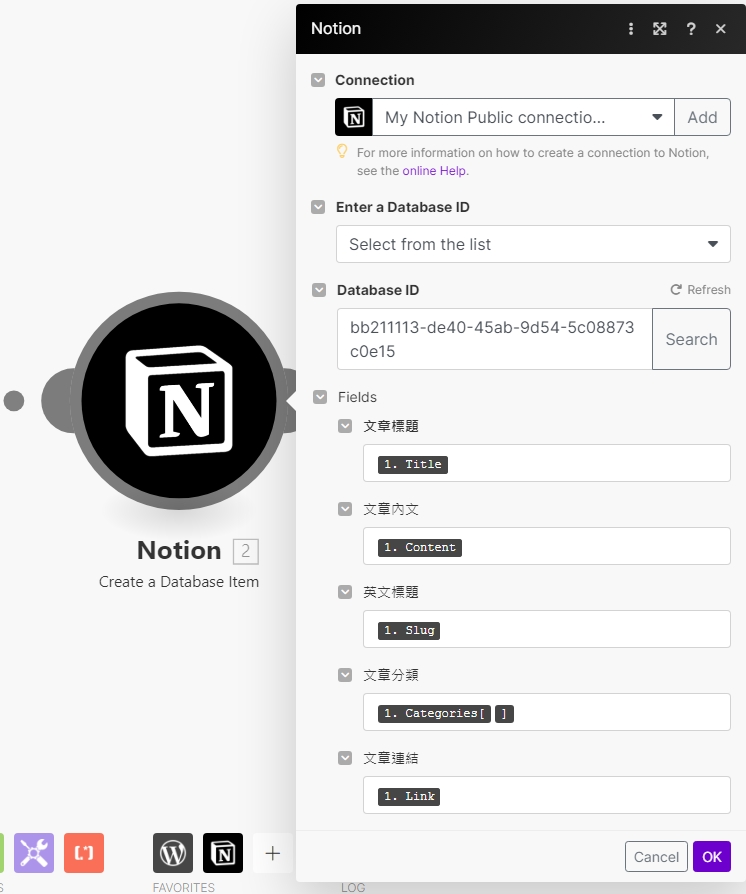
下一個模組使用的是Create a Database Item,就是要將抓取到的資料放入Notion資料庫
至於要放什麼資料,可以先單獨執行一次WordPress Watch Posts模組,來看看會回傳什麼資料
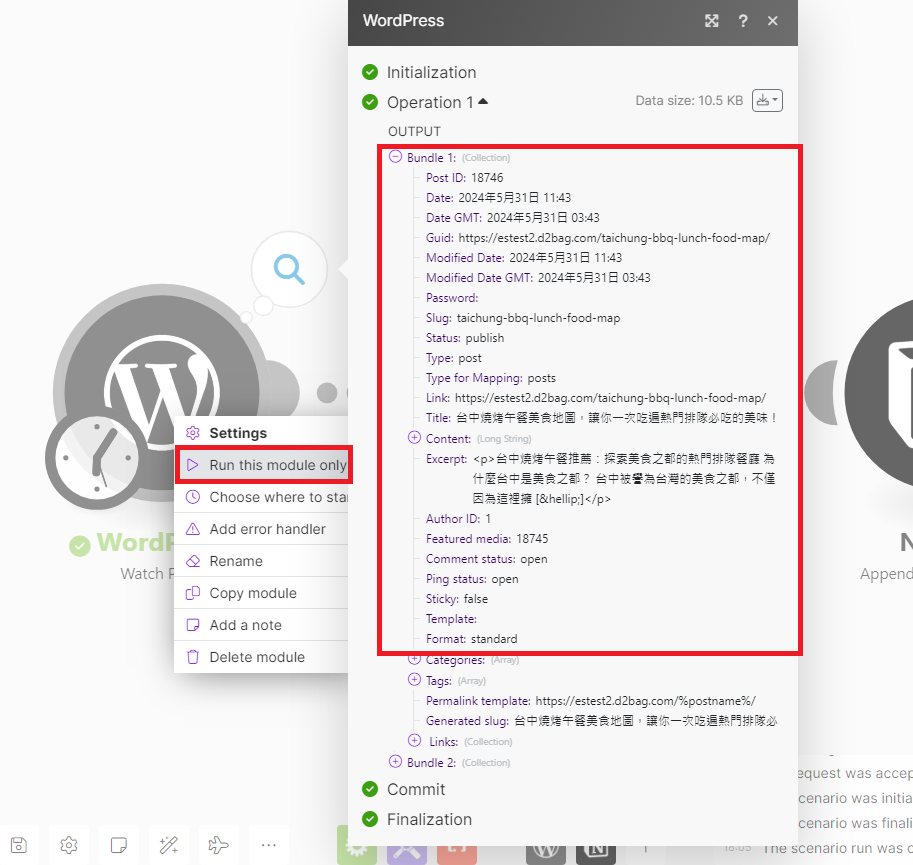
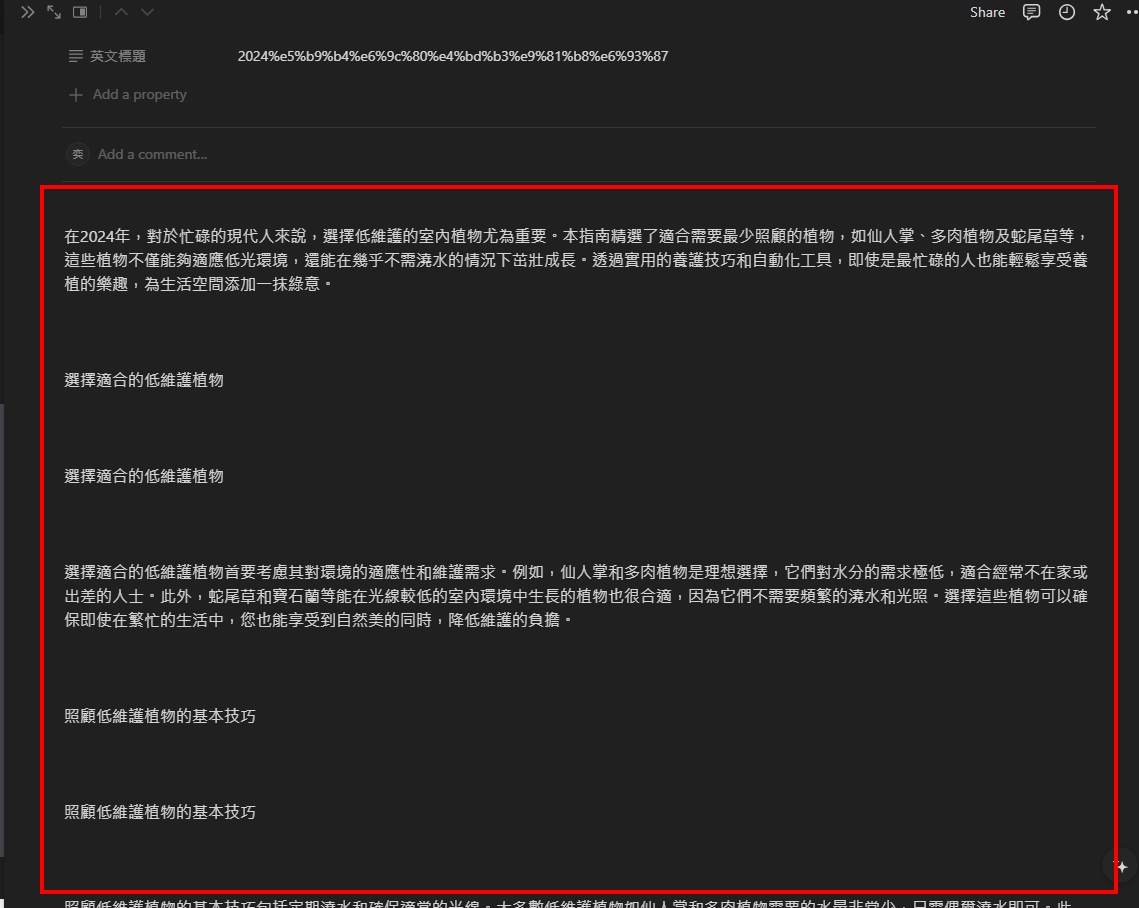
填入參數後的效果如下

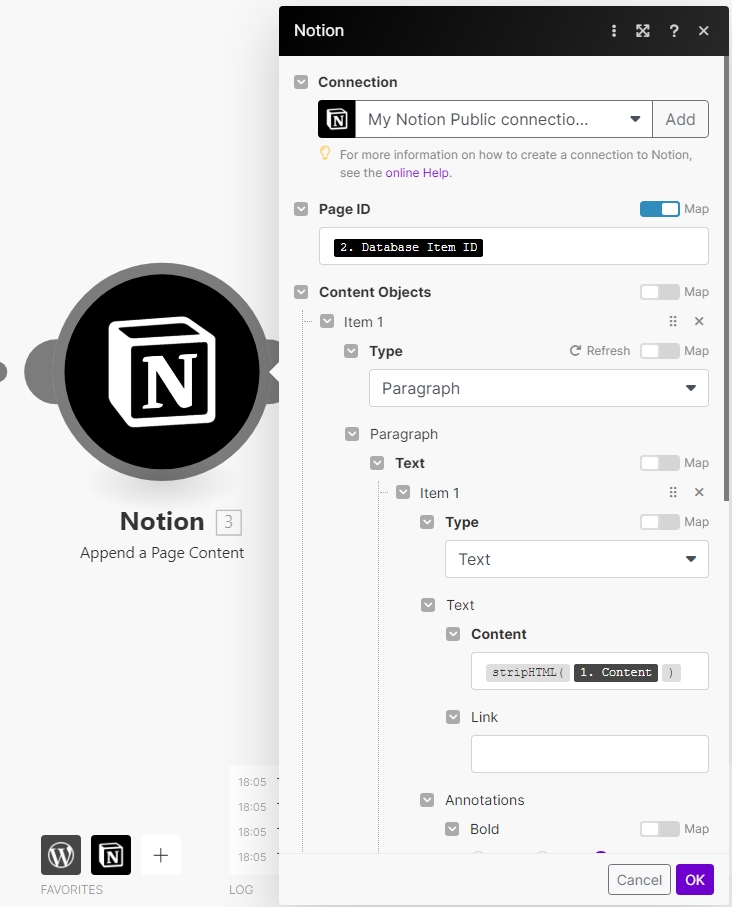
這一次最後還多了一個Notion的Append a Page Content
這個功能是會在剛剛建立成功的資料上面,再建立一個頁面
可以選擇額外需要保存的內容
要注意一點的地方是,官方有限制建立頁面的內容文字不能超過2000字元
所以在額外建立資料表頁面的時候要注意這個地方
成為AI學習平台訂閱者

NT$300 / 1個月

NT$900 / 3個月

NT$3,000 / 12個月